Salted Caramel Cake
Published Nov 01, 2024
Updated Mar 19, 2025
This post may contain affiliate links. Please read our disclosure policy.
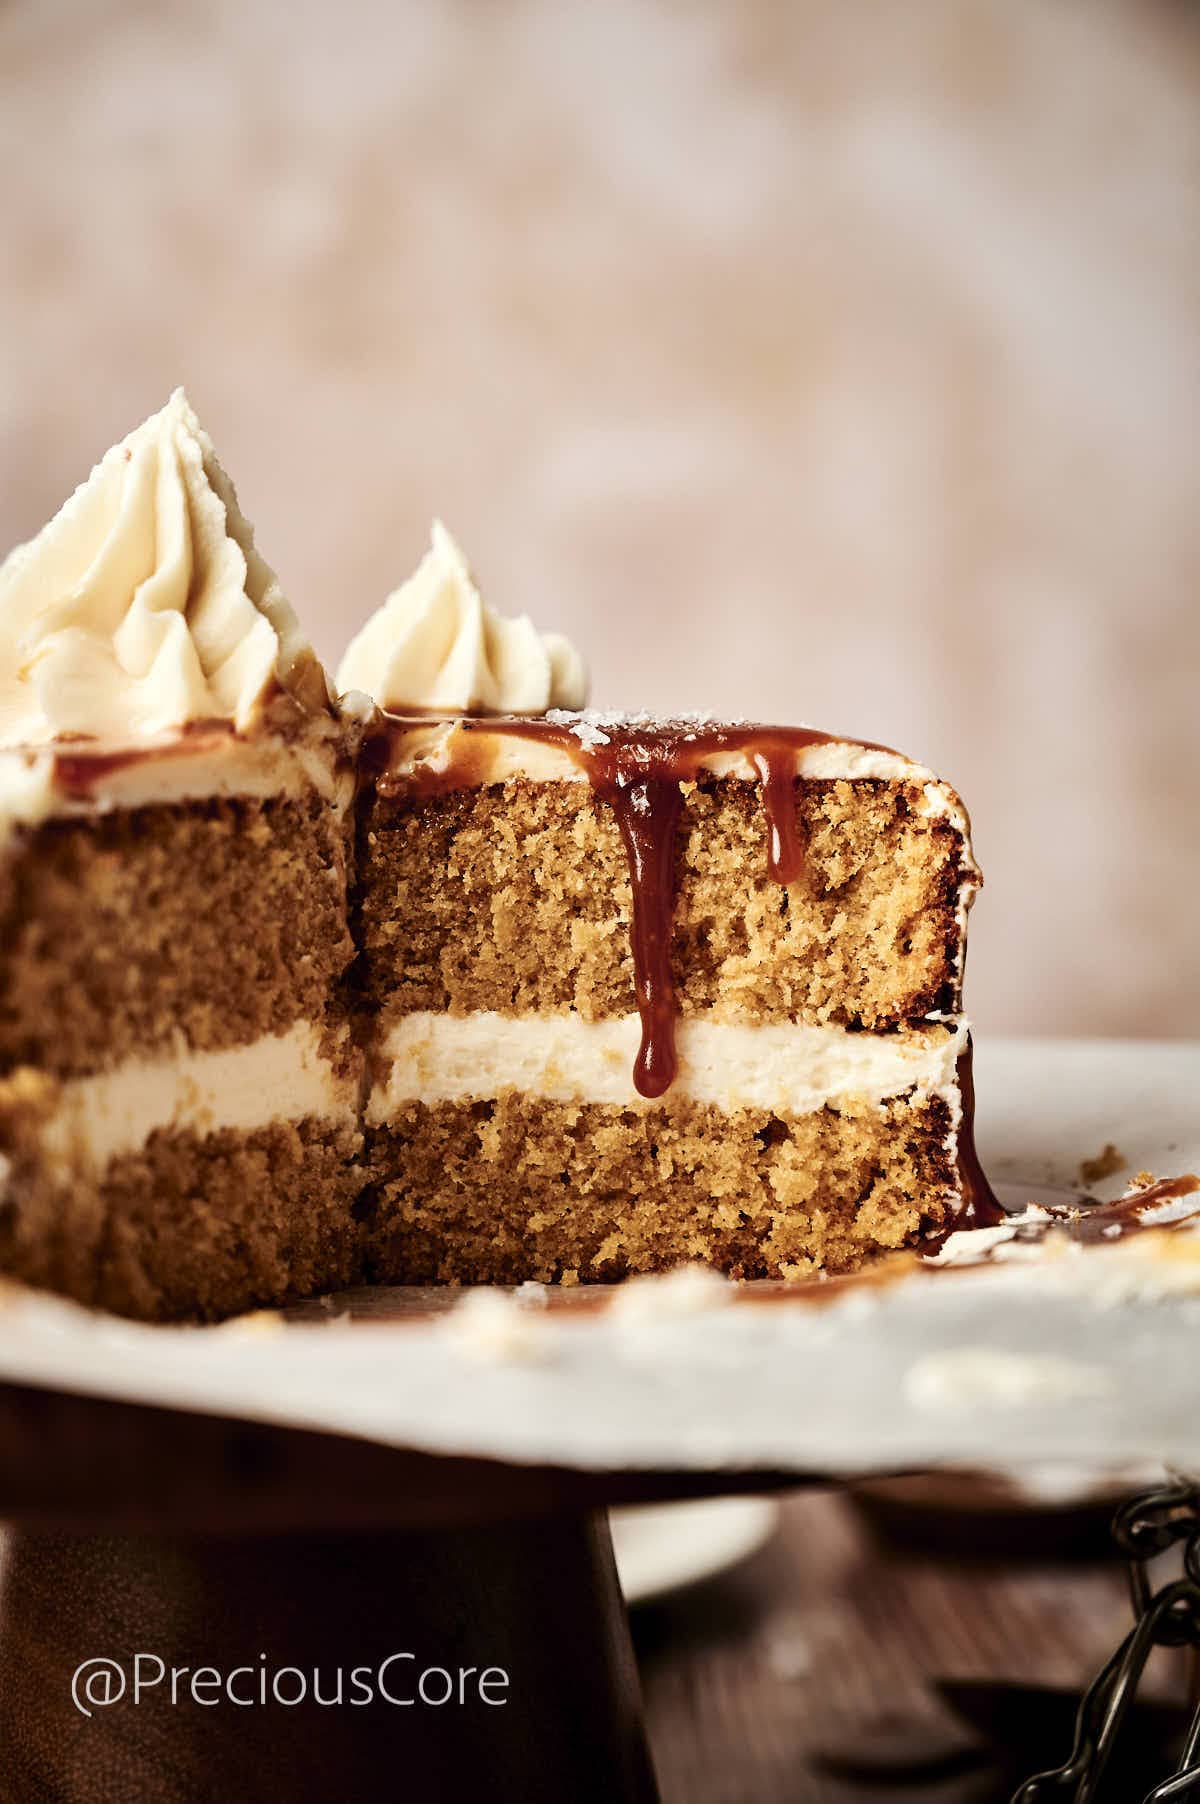
This Salted Caramel Cake is perfect for special occasions. It contains caramel in both the cake and the buttercream frosting!
To take it to the next level, drizzle some caramel sauce on top before serving. It’s the perfect centerpiece for Thanksgiving, Christmas, birthday parties, and other celebrations.
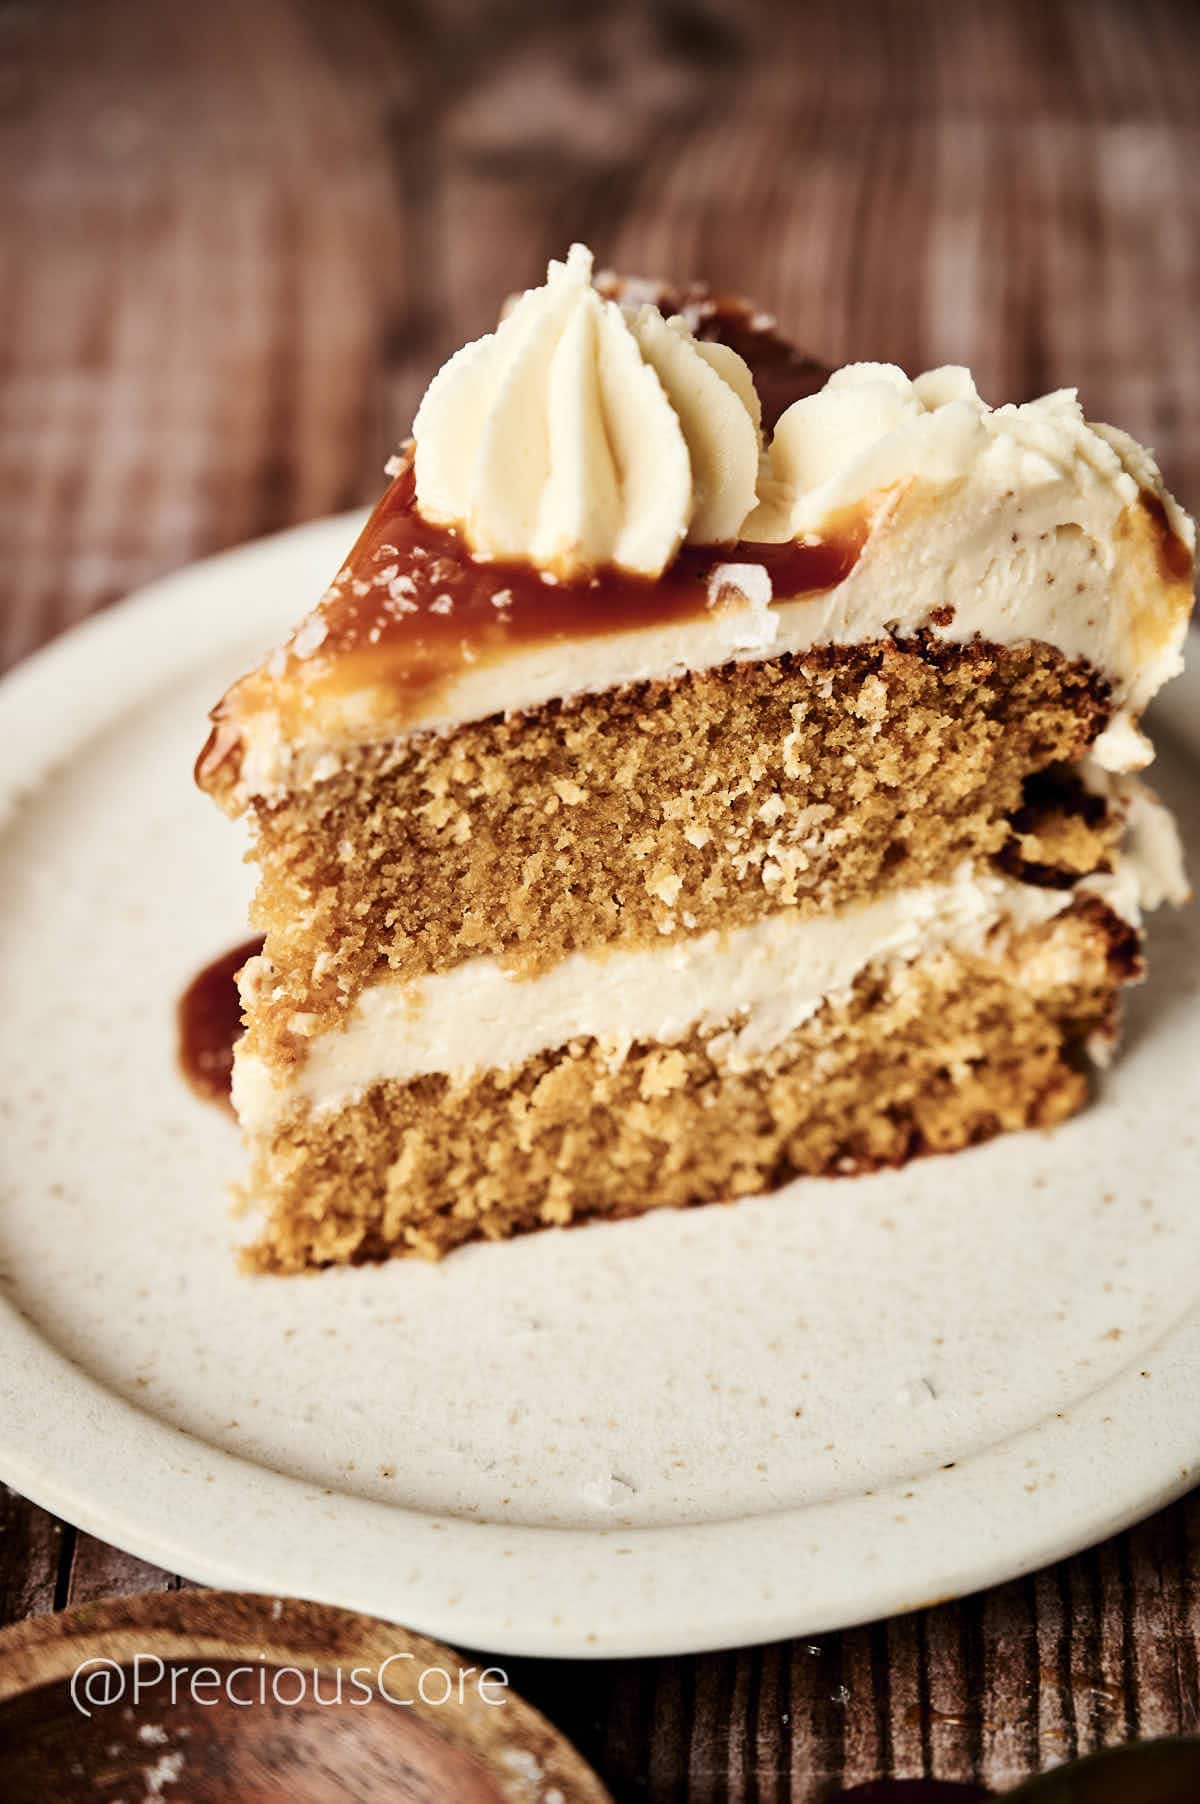
This is one cake recipe you’ll want to make again and again, so be sure to save it. Also, don’t miss all the important tips in the post!
Are you on the hunt for more delicious cake recipes? Check out my Old Fashioned Carrot Cake, Red Velvet Cake Recipe Without Buttermilk, and Pumpkin Cake With Cream Cheese Frosting recipes!
Table of Contents
- Salted Caramel Cake Recipe
- Ingredients Needed
- Salted Caramel Cake Recipe Variations
- Substitutions
- How to Make Salted Caramel Cake
- Step 1: Preheat the Oven and Grease Pans
- Step 2: Sift Dry Ingredients
- Step 3: Cream Butter and Sugars
- Step 4: Add Eggs and Wet Ingredients
- Step 5: Combine Wet and Dry Ingredients
- Step 6: Bake the Cakes
- Step 7: Prepare the Buttercream
- Step 8: Assemble the Cake
- Step 9: Decorate and Serve
- Expert Tips for Salted Caramel Cake
- Serving
- How to Store Leftovers
- More Cake Recipes
- Salted Caramel Cake Recipe
Salted Caramel Cake Recipe
When it’s fall season, I indulge in all things caramel: fresh apple slices dipped into buttery caramel sauce, caramel apple hand pies, and caramel coffee. The latest to join the caramel fam is this Salted Caramel Cake.
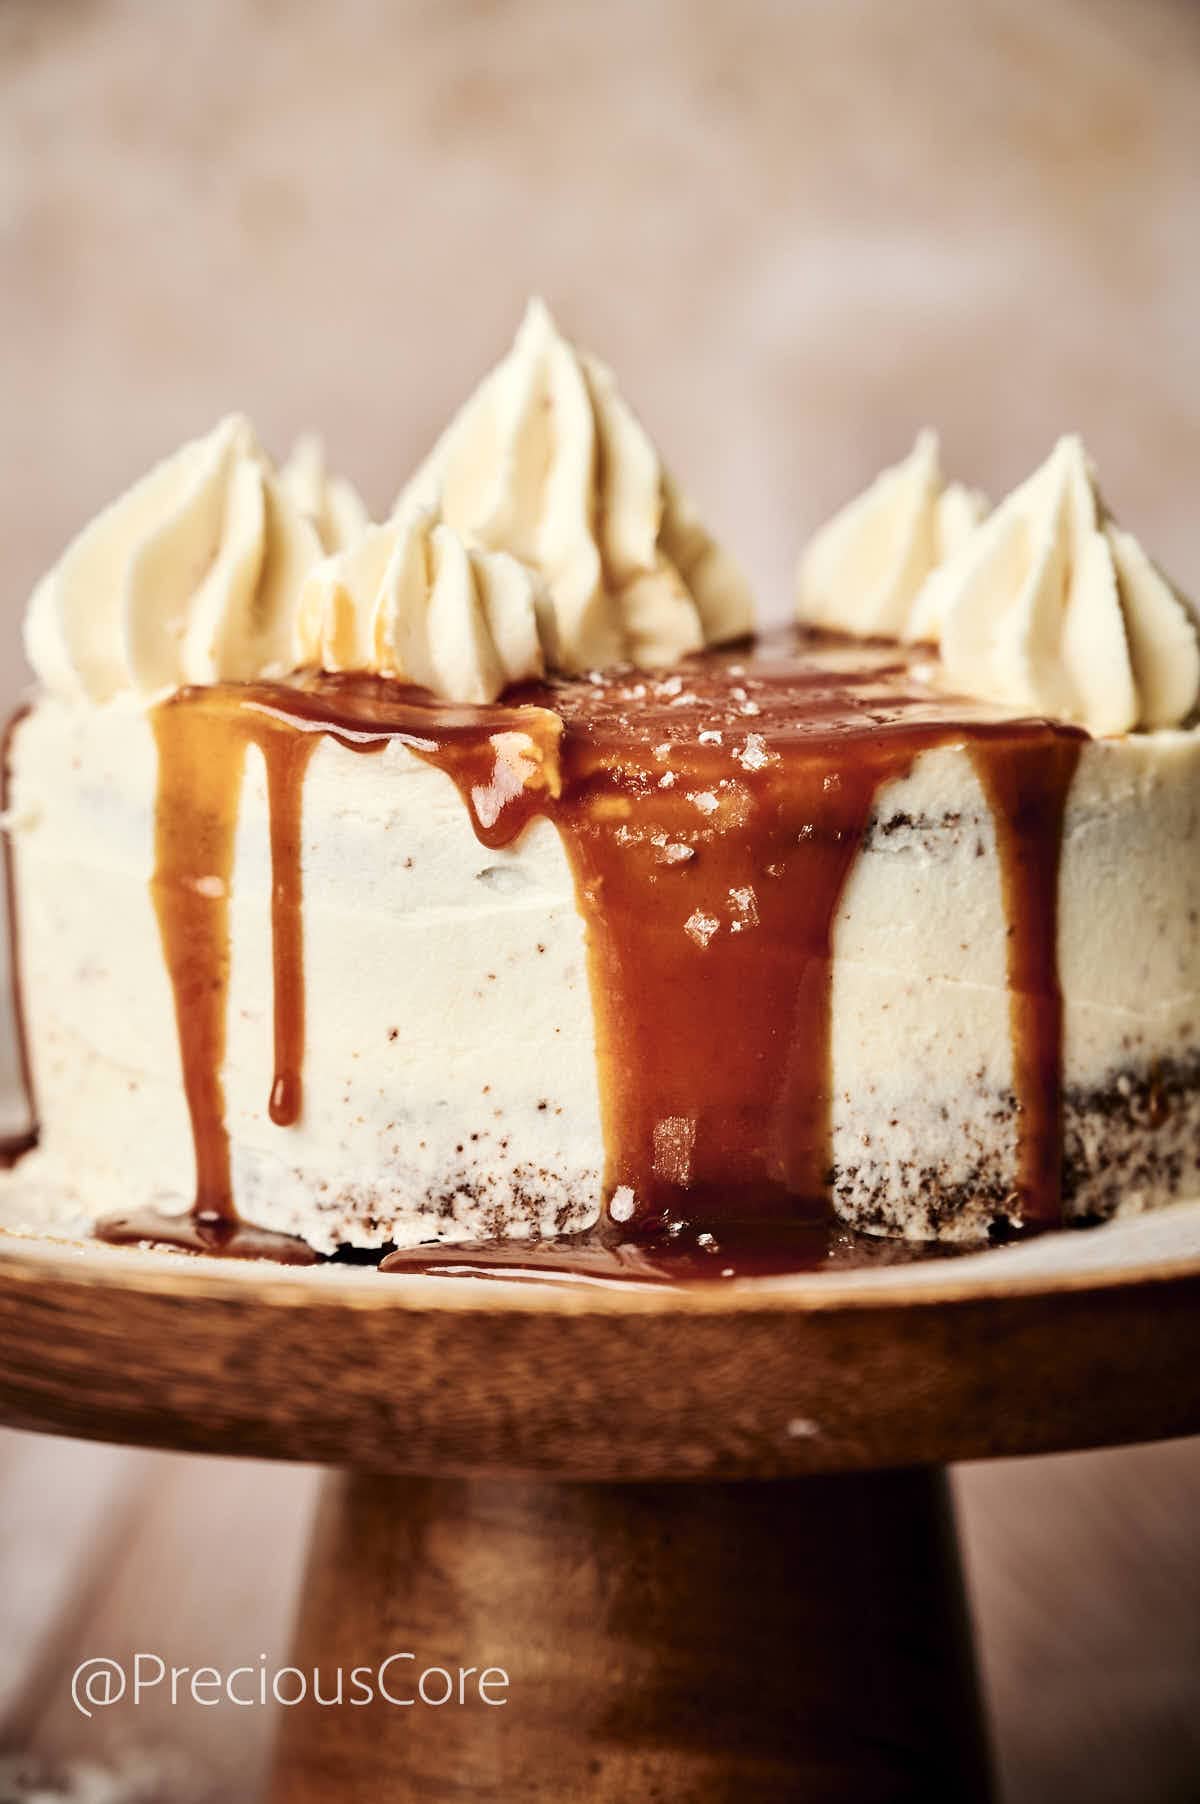
Indulgent layers of caramel sponge and caramel buttercream frosting are all kinds of delicious! It’s the perfect fall dessert, the perfect treat to make as gift, or the perfect birthday cake.
This cake has amazing caramel flavor, a soft sponge and fluffy buttercream frosting. It goes well with a piping hot cup of tea or coffee!
Ingredients Needed
Caramel lovers unite! Here is everything you need to make this caramel cake.
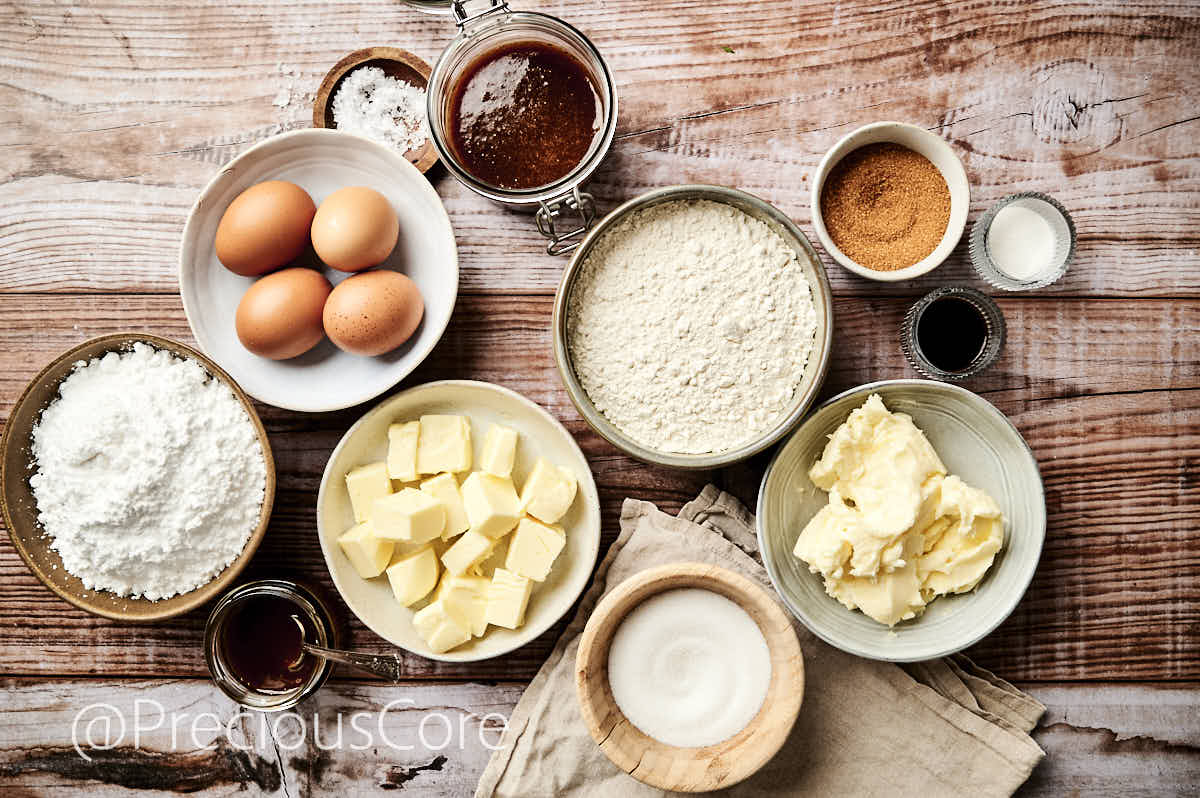
- Self-Rising Flour: Thanks to its integrated leavening, self-rising flour guarantees a cake that rises beautifully and boasts a light and fluffy texture.
- Salted Butter: Balances the sweetness of the cake well.
- Eggs: Let them sit out of the fridge for 1-2 hours before baking to ensure eggs reach room temperature.
- Brown Sugar: Adds a rich, deep sweetness to the cake. Light brown or dark brown sugar would work here. You also need regular granulated sugar (see recipe card).
- Caramel Sauce: Brings a wonderful caramel flavor. Use your favorite brand of caramel sauce. I love the Salted Caramel Sauce from Trader Joe’s. You could use homemade caramel sauce too.
For the full list of ingredients with measurements, check out the recipe card below.
Salted Caramel Cake Recipe Variations
- Salted Caramel Chocolate Cake: Add a layer of rich chocolate ganache between the cake layers to make chocolate caramel cake.
- Coffee Salted Caramel Cake: Add a shot of espresso to the caramel sauce or the cake batter for a wonderful blend of rich coffee and caramel flavors.
- Pecan Salted Caramel Cake: If you want a nutty crunch that goes well with caramel, add some chopped pecans into the batter or use candied pecans as a cake garnish.
Substitutions
No need to worry, if you do not have all the ingredients present now! Here are a few substitutions that will work just as well:
- Flour – This recipe specifically requires self-rising flour. If self-rising flour isn’t on hand, no worries! You can easily substitute it with all-purpose flour by adding 1½ teaspoons of baking powder and a pinch of salt for each cup of flour.
- Butter – Swap out butter for margarine or coconut oil to enjoy a dairy-free alternative that maintains both moisture and flavor.
- Egg Substitute – To create an egg-free alternative, substitute each egg with a mixture of 1 tablespoon of ground flaxseed and 3 tablespoons of water.
For another recipe to use as the sponge base for this cake, check out my VANILLA SPONGE CAKE.
How to Make Salted Caramel Cake
Step 1: Preheat the Oven and Grease Pans
Preheat the oven to 350°F(180°C). Grease two 8-inch cake pans and line the bases with parchment paper.
For optimal results, opt for an aluminum baking pan, generously coated with butter and lined using baking paper at the bottom. Since the aluminum pan is light in color, it conducts less heat than dark-colored pans. This method allows for a gentler baking process, leading to a beautifully soft cake. A black baking pan tends to draw in significantly more heat. A darker crust can lead to a drier cake.
Step 2: Sift Dry Ingredients
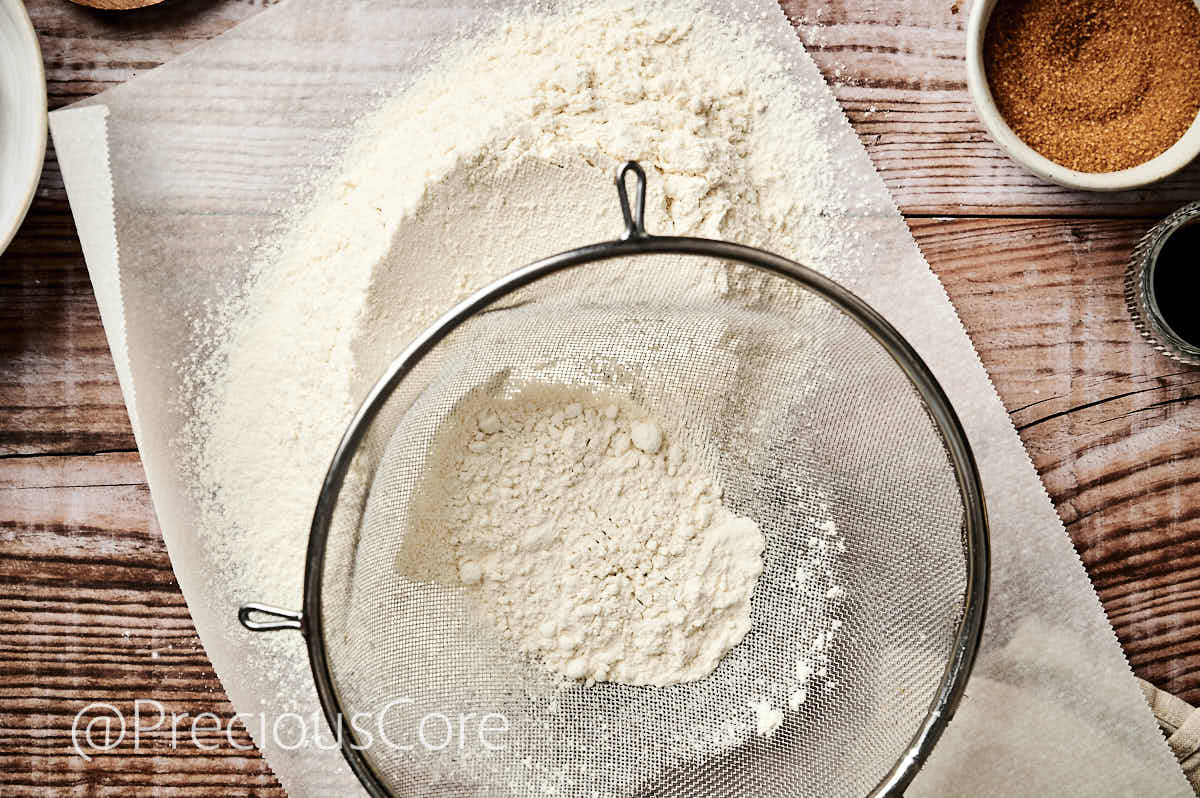
Use a fine mesh to sieve the flour and salt.
Step 3: Cream Butter and Sugars
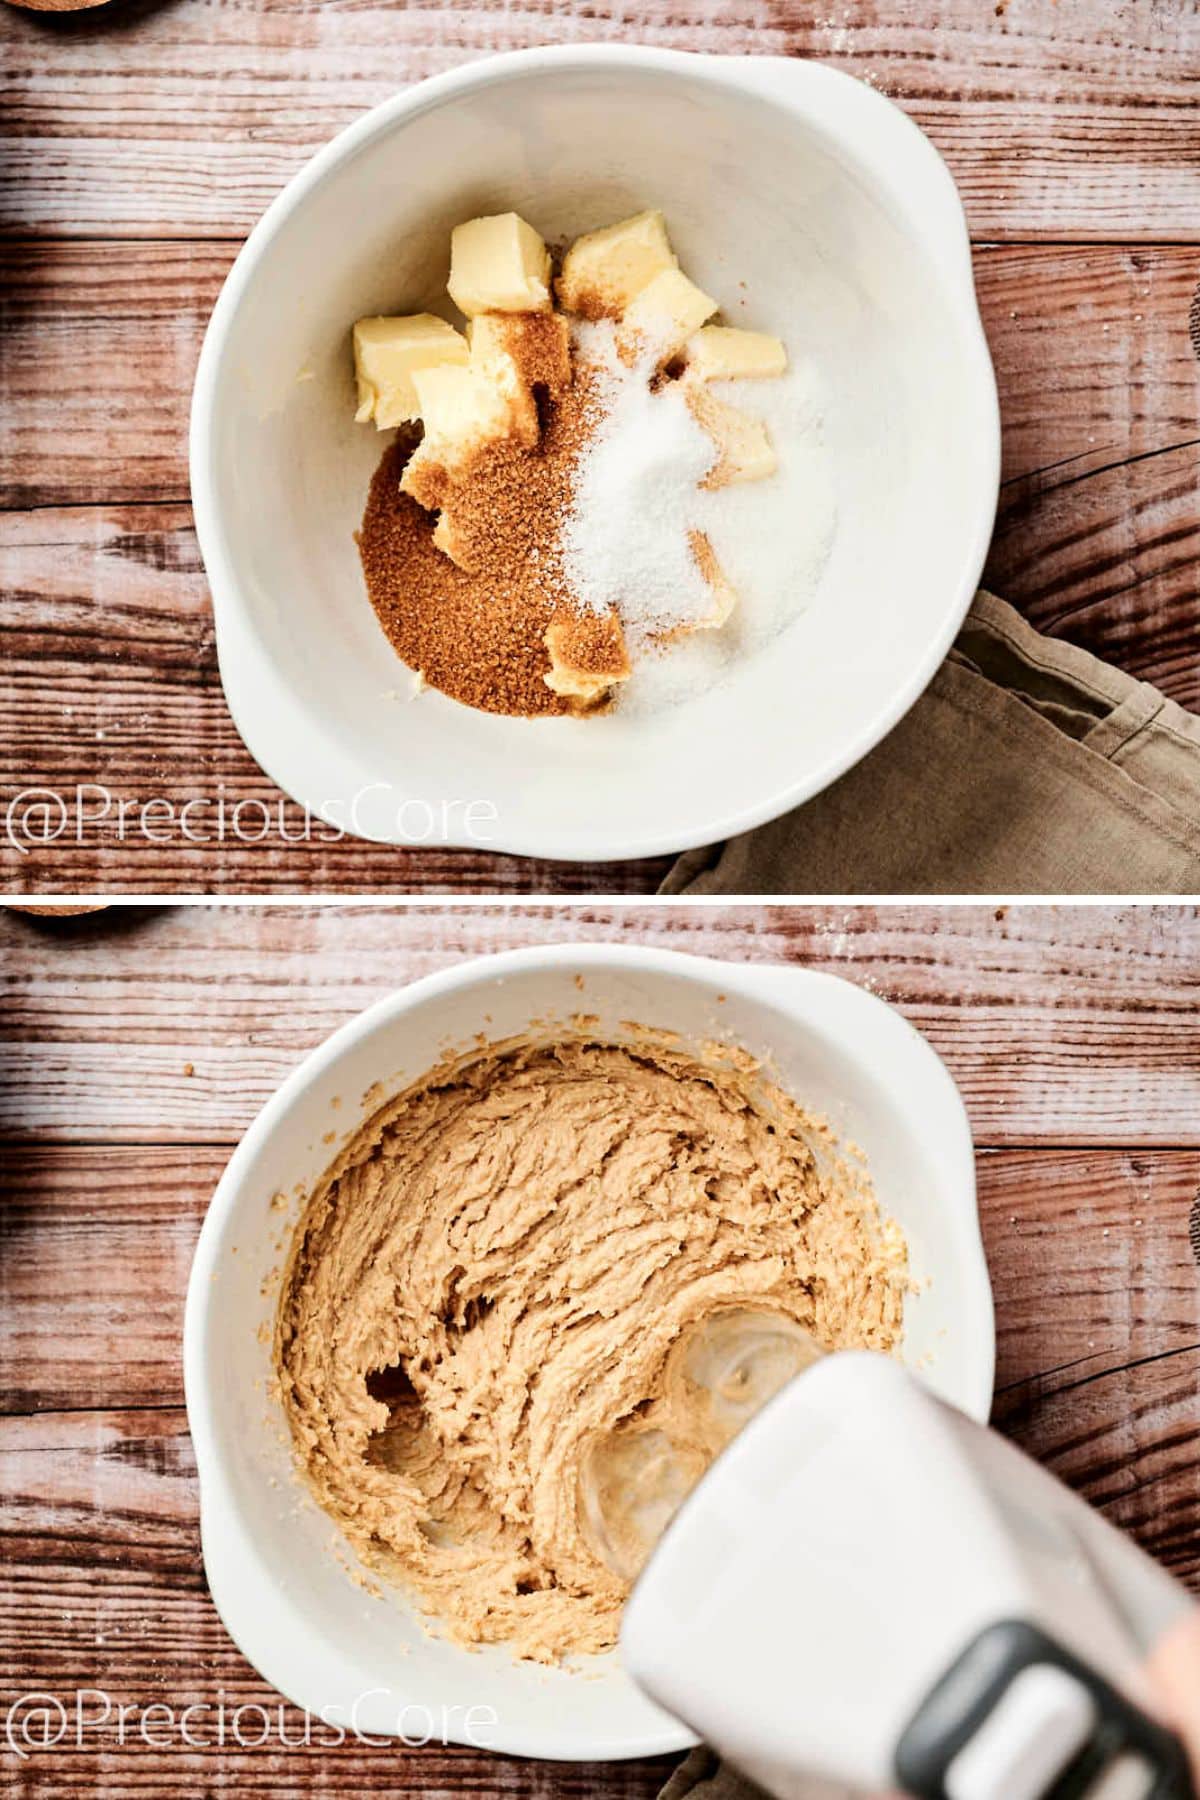
Combine the butter, sugars, and caramel sauce in a large bowl or the bowl of a stand mixer. Beat the mixture using a hand mixer or whisking with the stand mixer for 2-3 minutes until light and fluffy.
Step 4: Add Eggs and Wet Ingredients
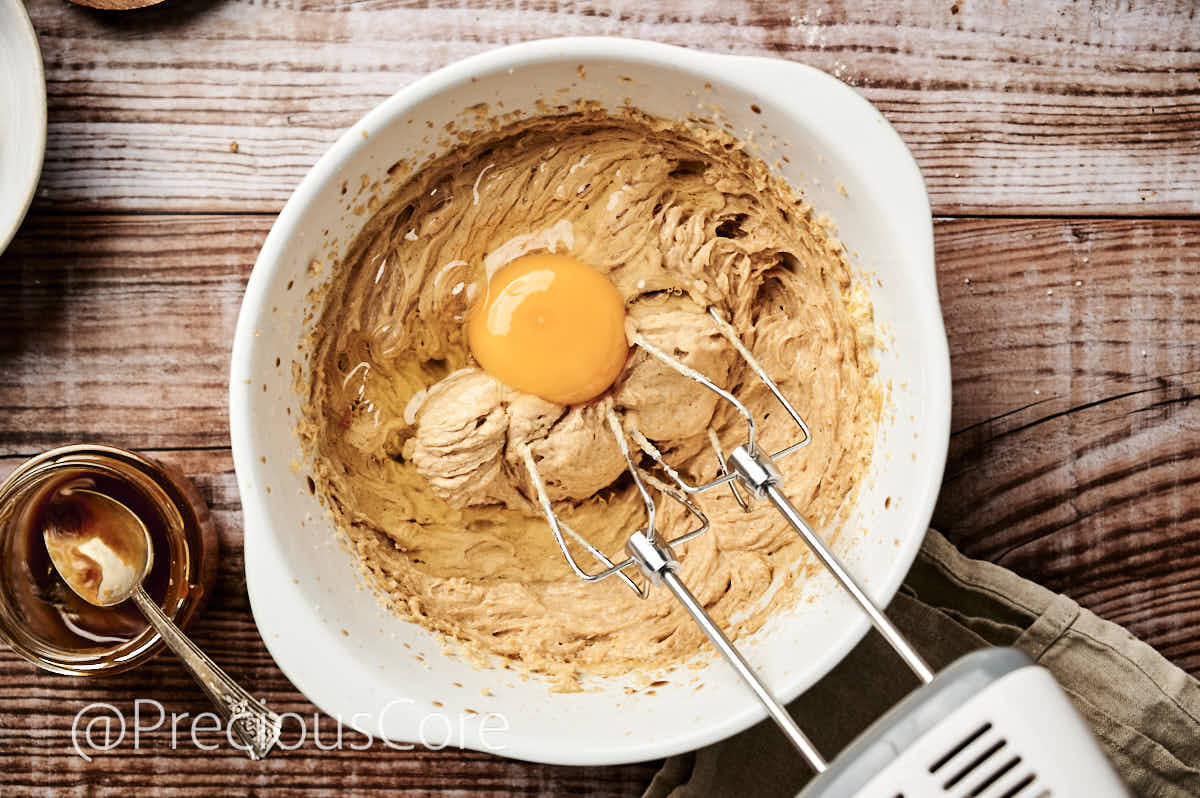
Add the eggs one at a time. Scrape down the sides of the bowl as needed, then mix in the vanilla extract and milk. (You could use a little heavy cream in place of the milk.)
Step 5: Combine Wet and Dry Ingredients
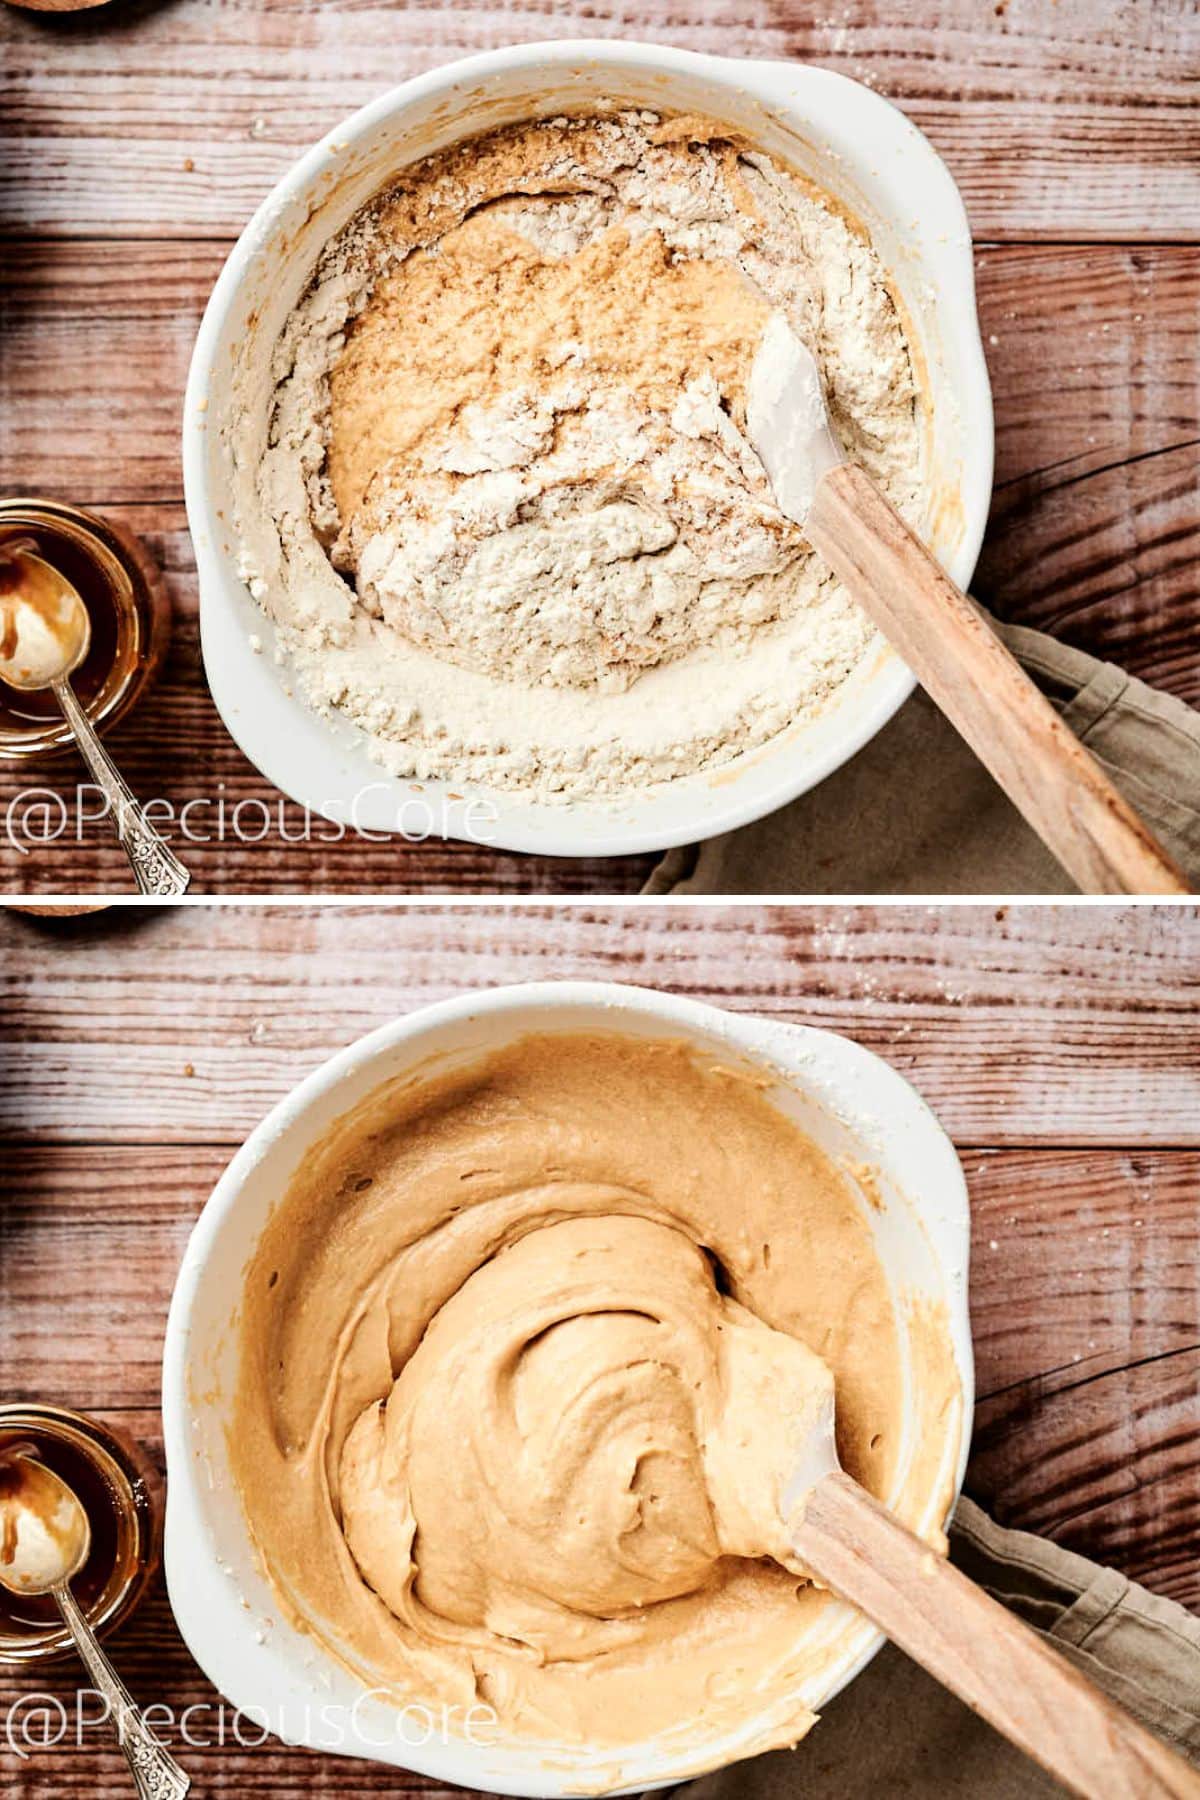
Fold in the flour mixture and combine using a spatula – make sure everything is thoroughly combined, but avoid overmixing.
I use grams as my go-to measurement for this recipe. Using a kitchen scale is the ultimate method for accurately measuring your ingredients, and I can’t recommend it enough!
Step 6: Bake the Cakes
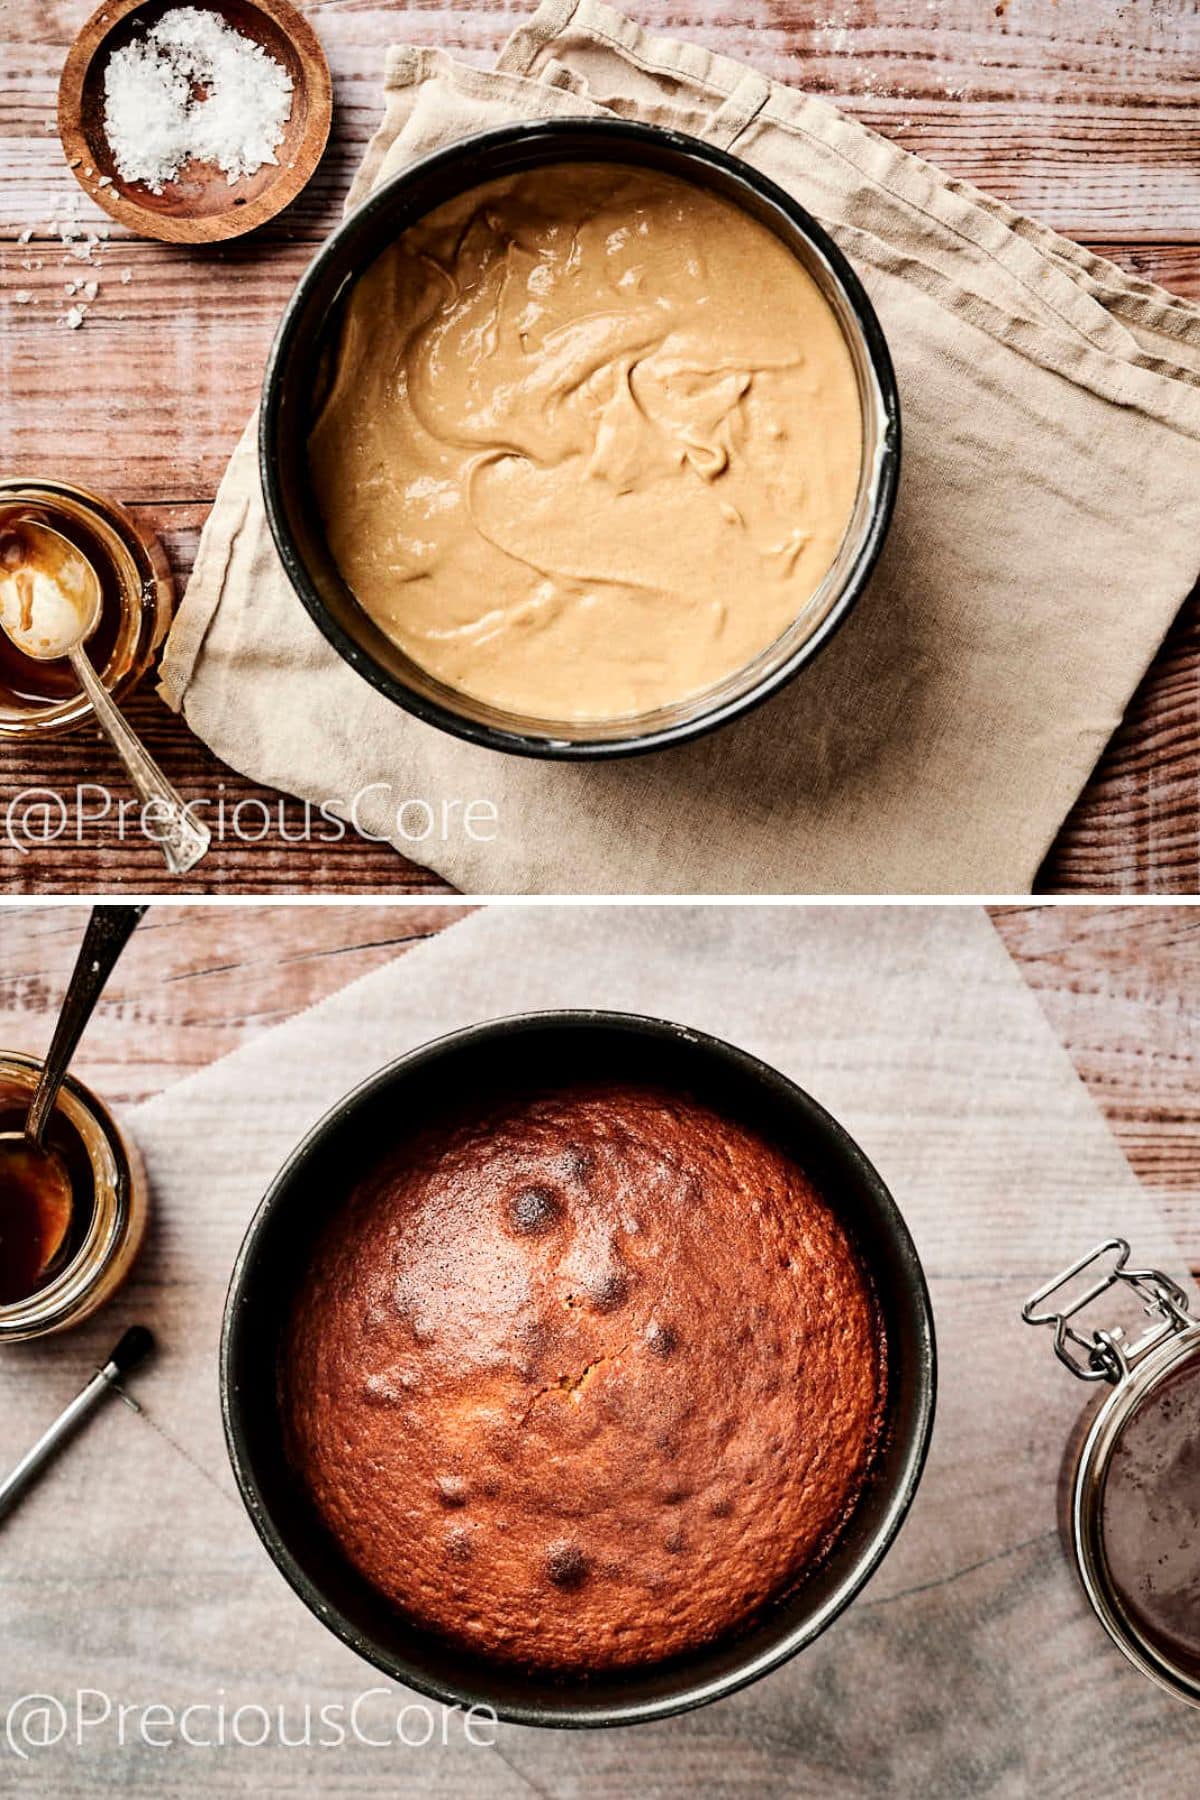
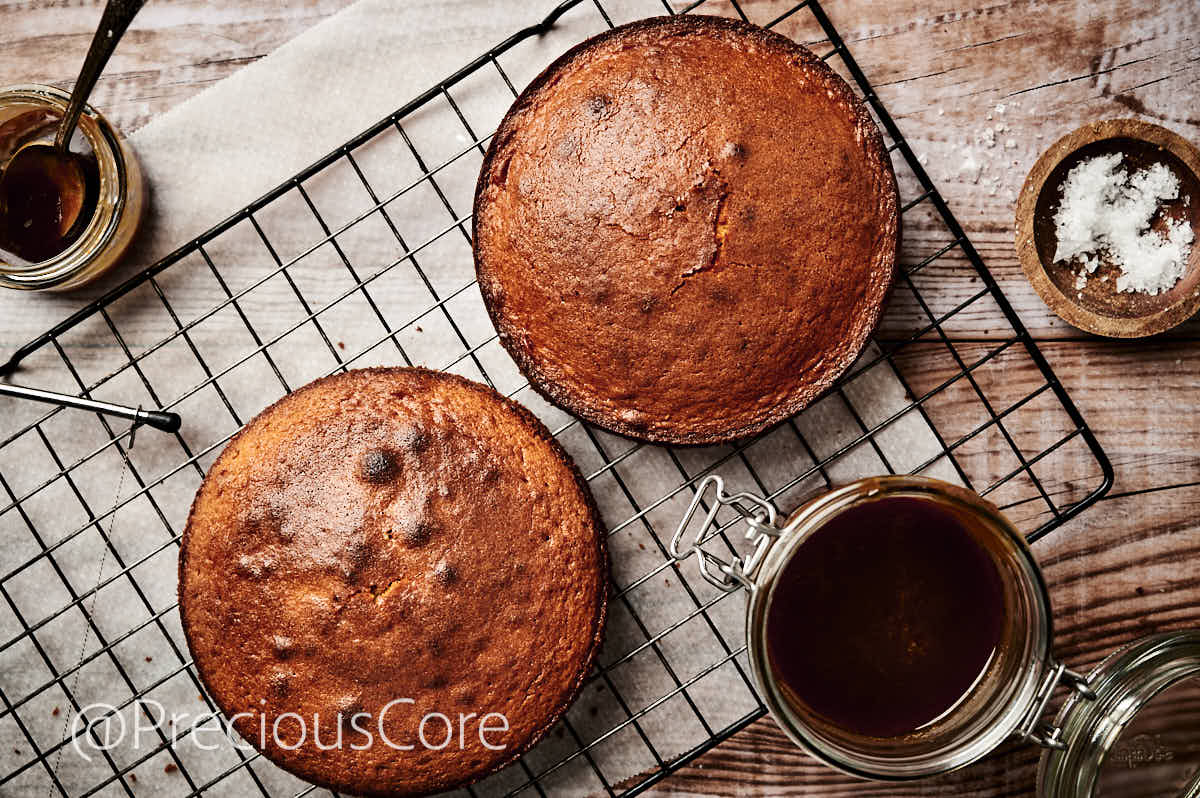
Evenly distribute the batter between the 2 prepared cake pans and bake for 20 to 25 minutes, or until the cakes are golden and risen and a skewer placed in the center comes out clear. Let the cakes cool in the pans for 10 minutes, then transfer them to a wire rackto cool completely.
Step 7: Prepare the Buttercream
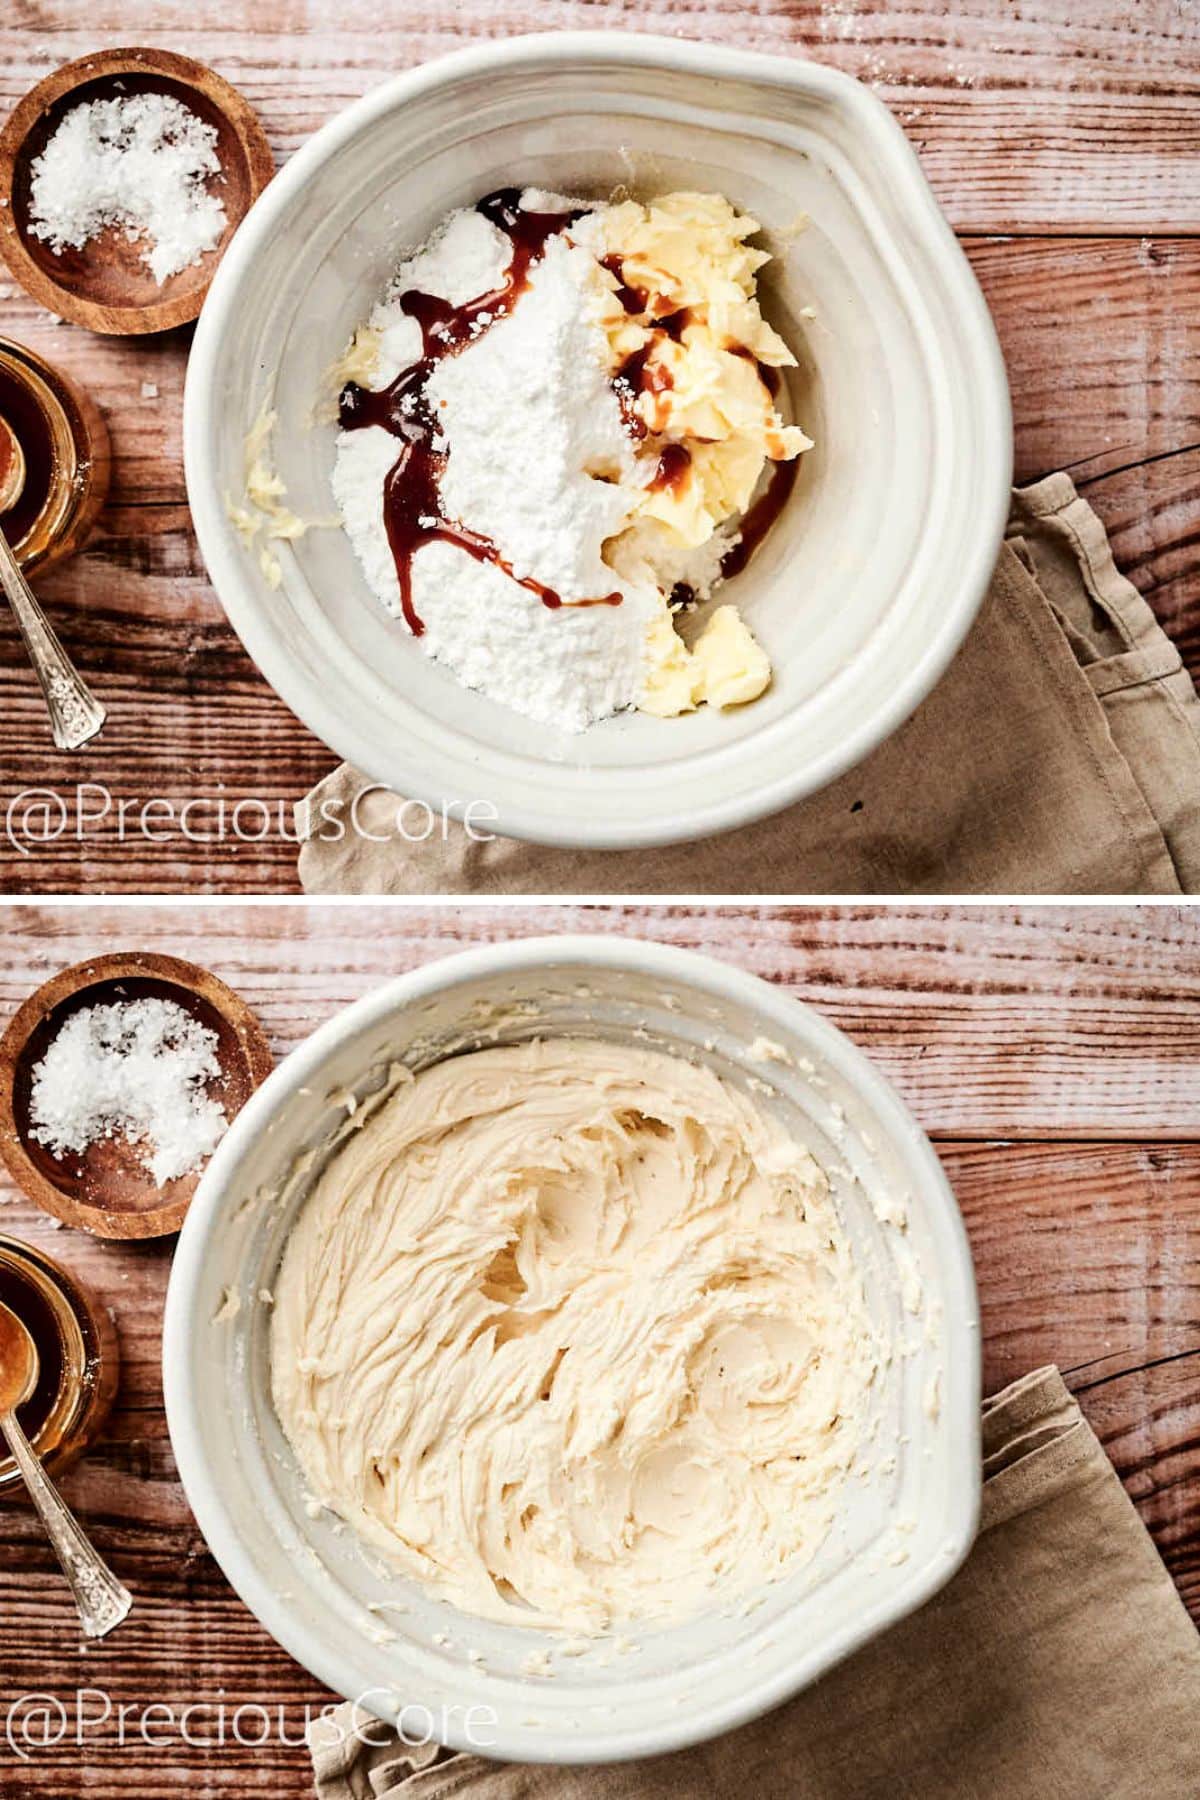
For the buttercream, add the butter to a large mixing bowl and beat using a hand mixer until very soft. Slowly add the icing sugar, one-third at a time, whisking well after each addition until the mixture is light and fluffy. Mix in the caramel sauce and a pinch of sea salt, and beat until fully combined.
Step 8: Assemble the Cake
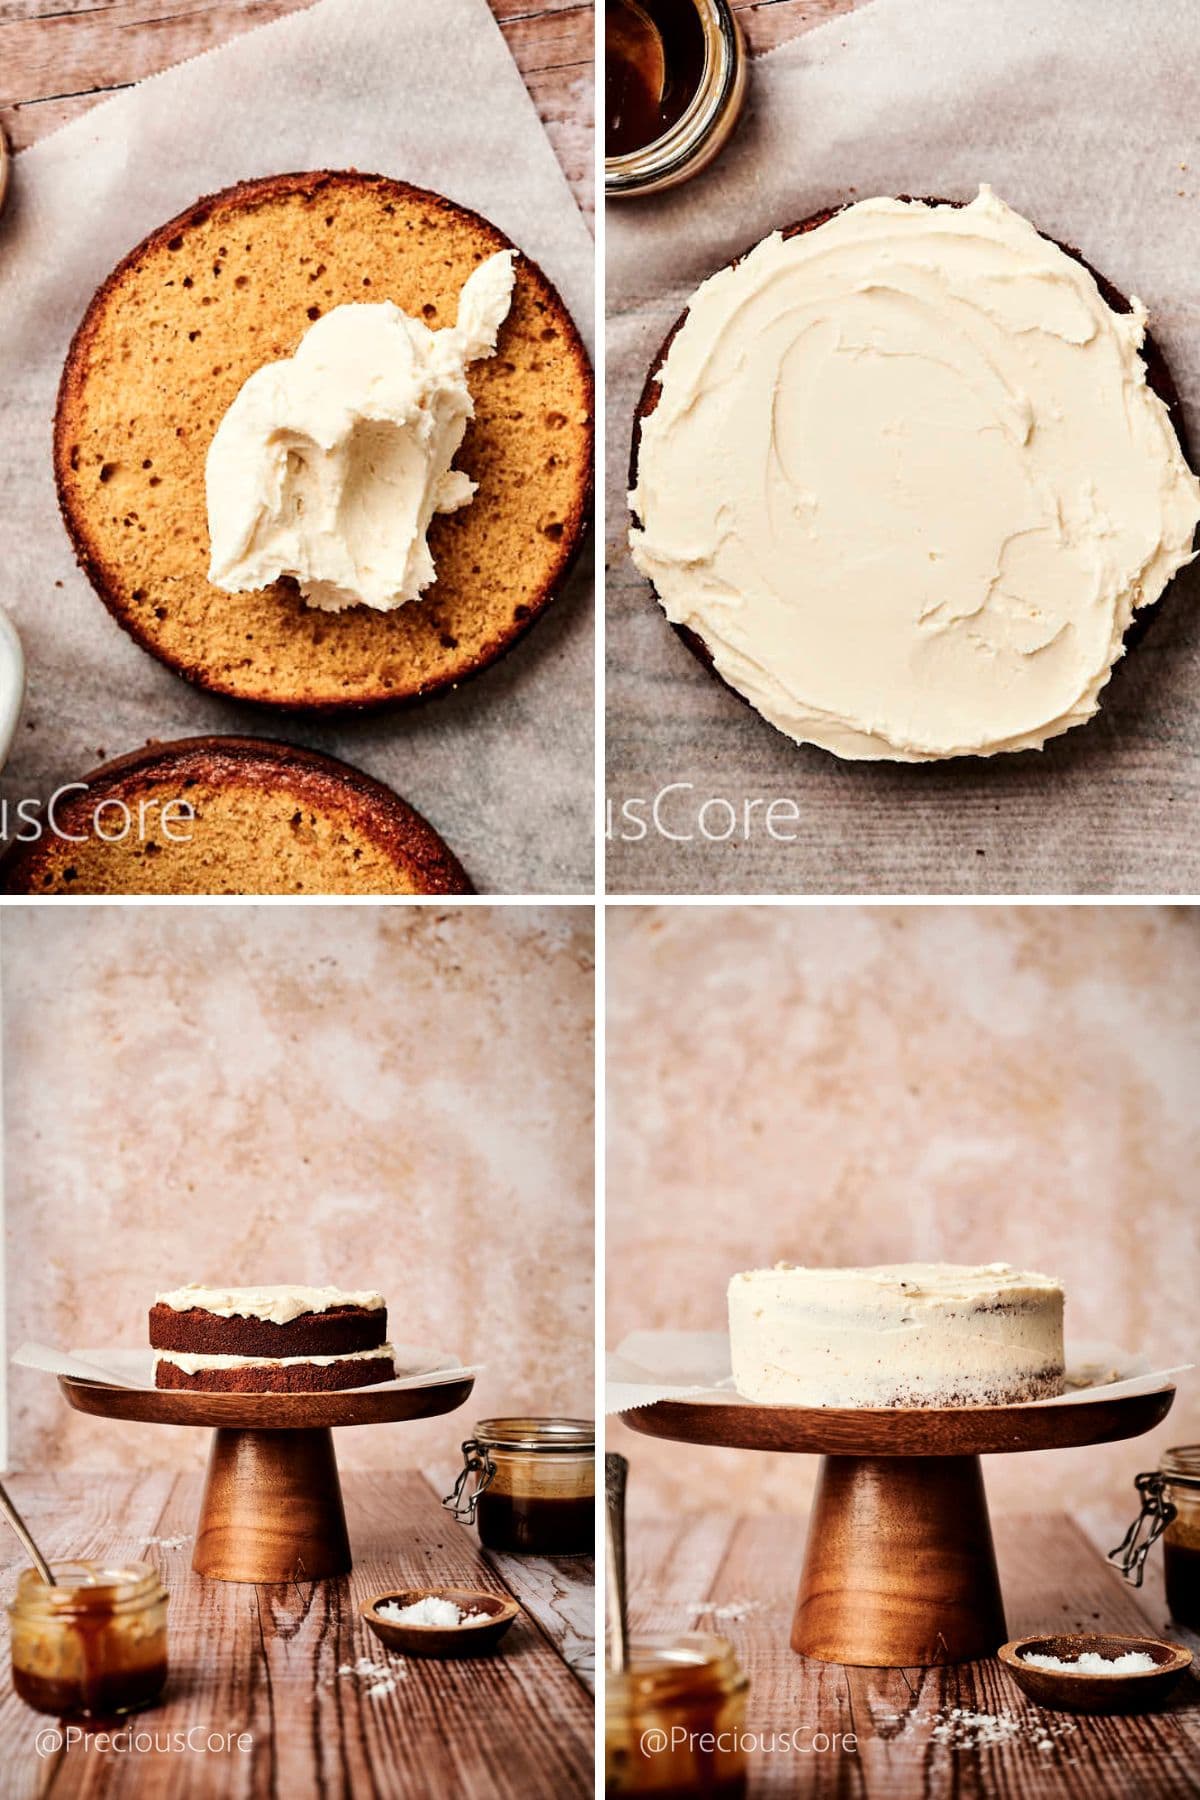
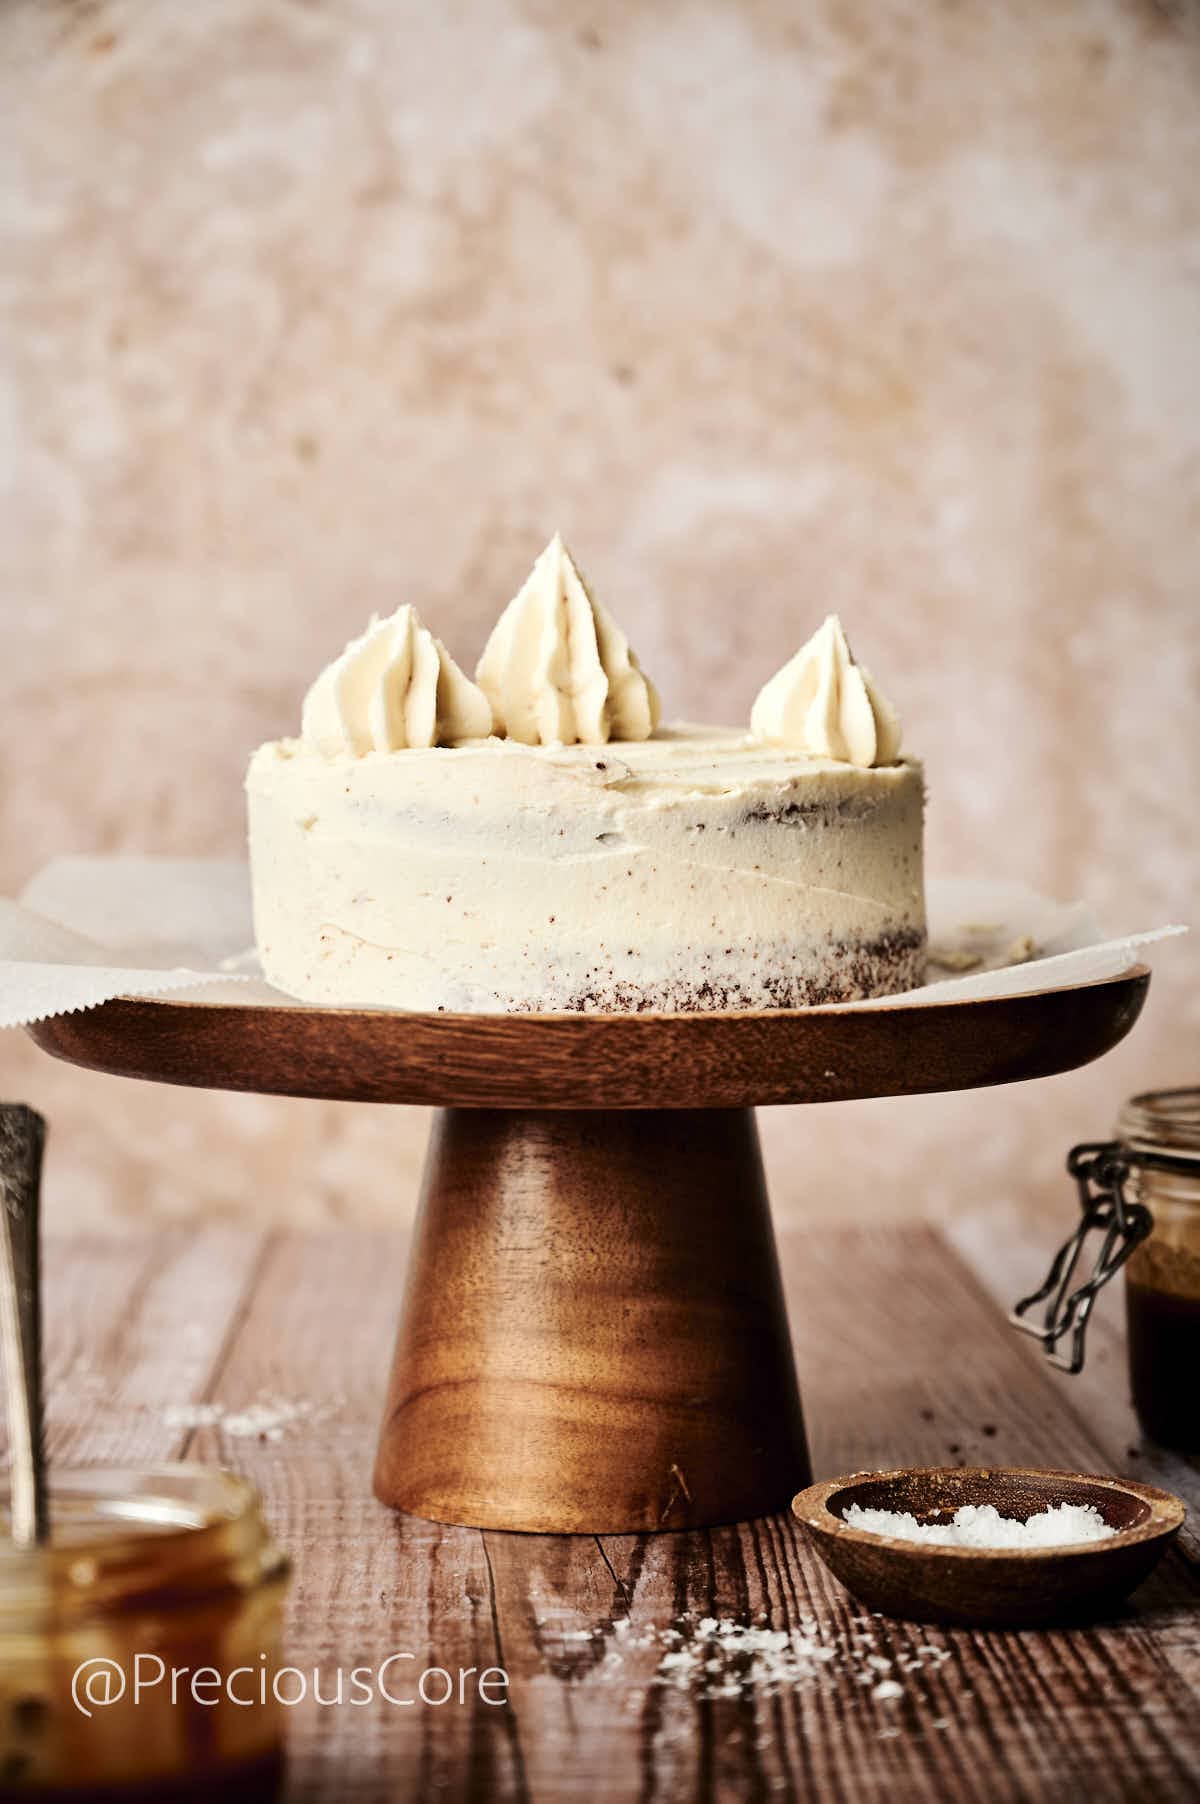
To assemble the cake, place one of the sponges on a cake stand and spread one third of the buttercream on top. Use an offset spatula to level the top. Place the second sponge on top, then spread another third of the remaining buttercream over it. Spread the buttercream on the sides if desired then use a bench scraper to smooth it out. Pipe any buttercream left on the top of the cake as decoration.
Step 9: Decorate and Serve
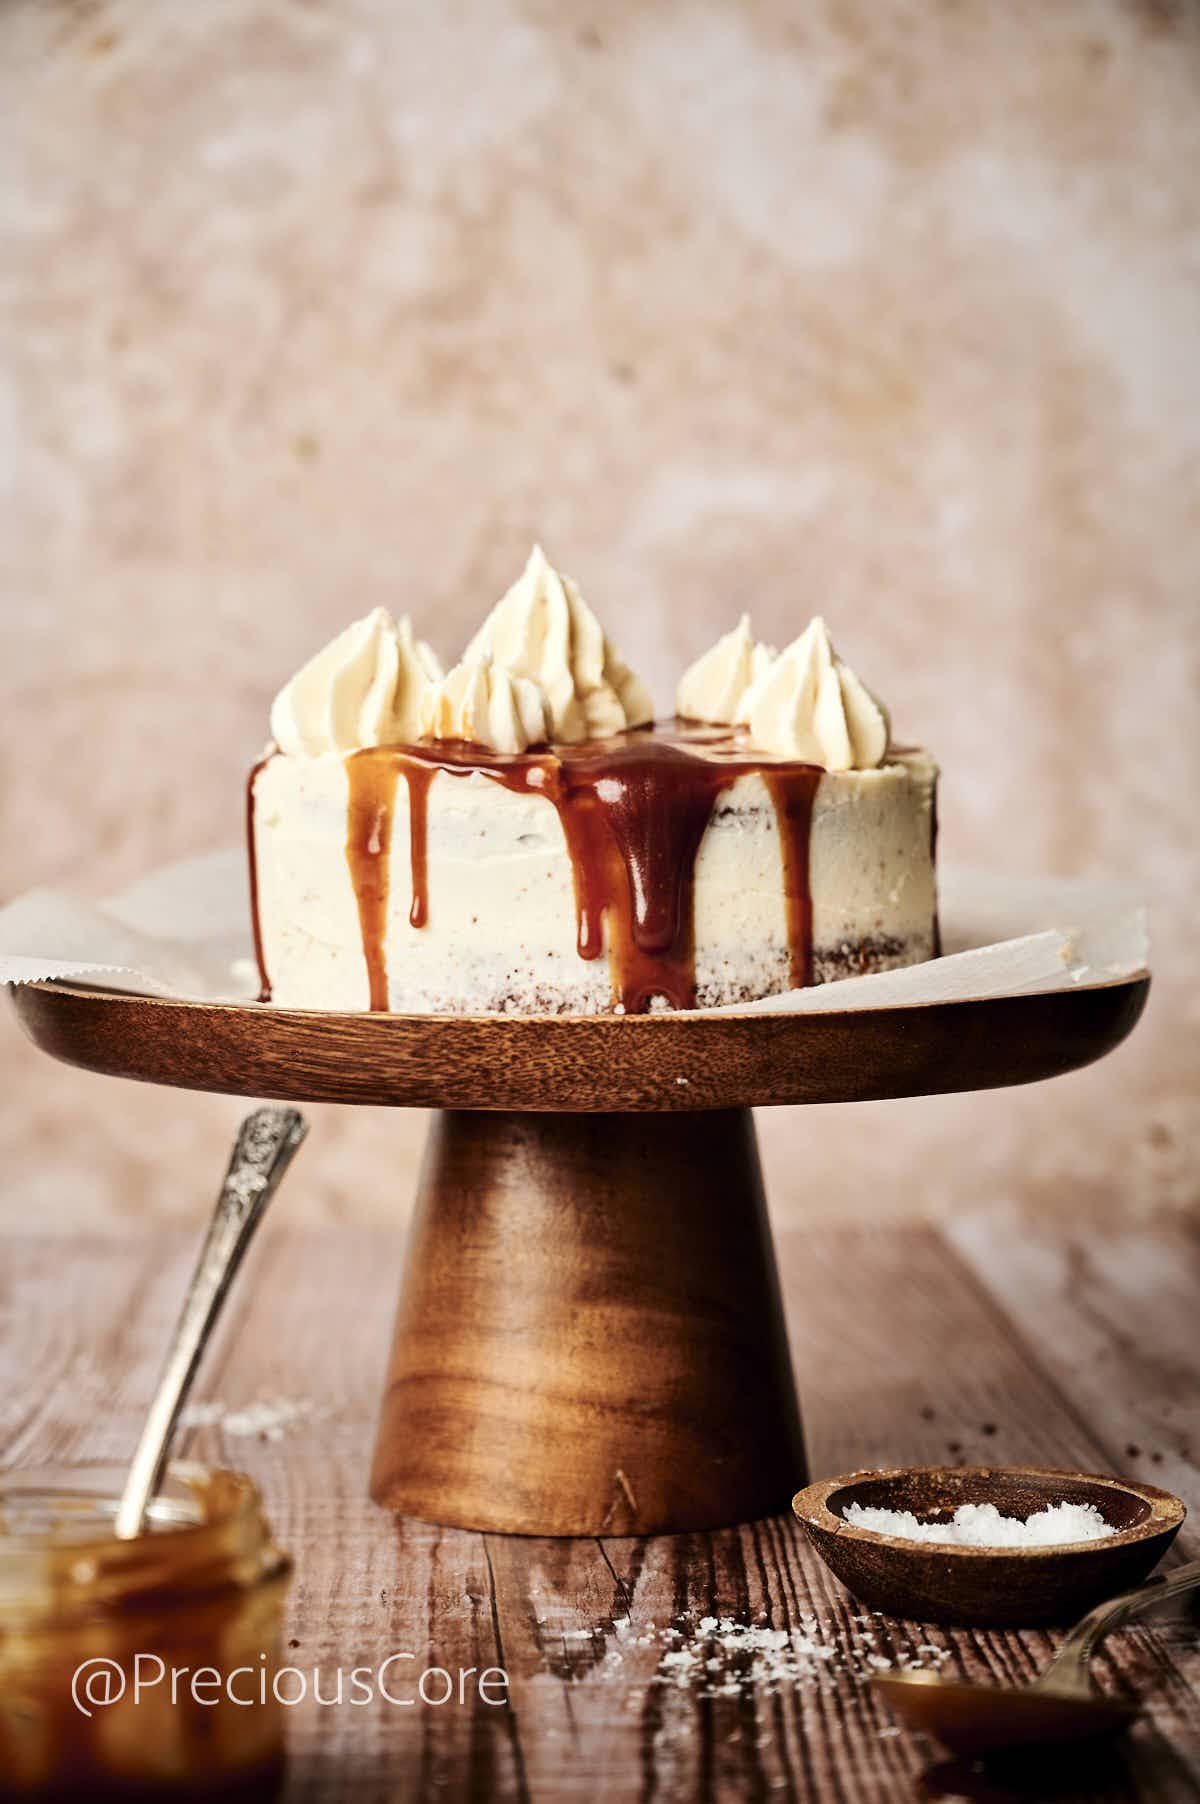
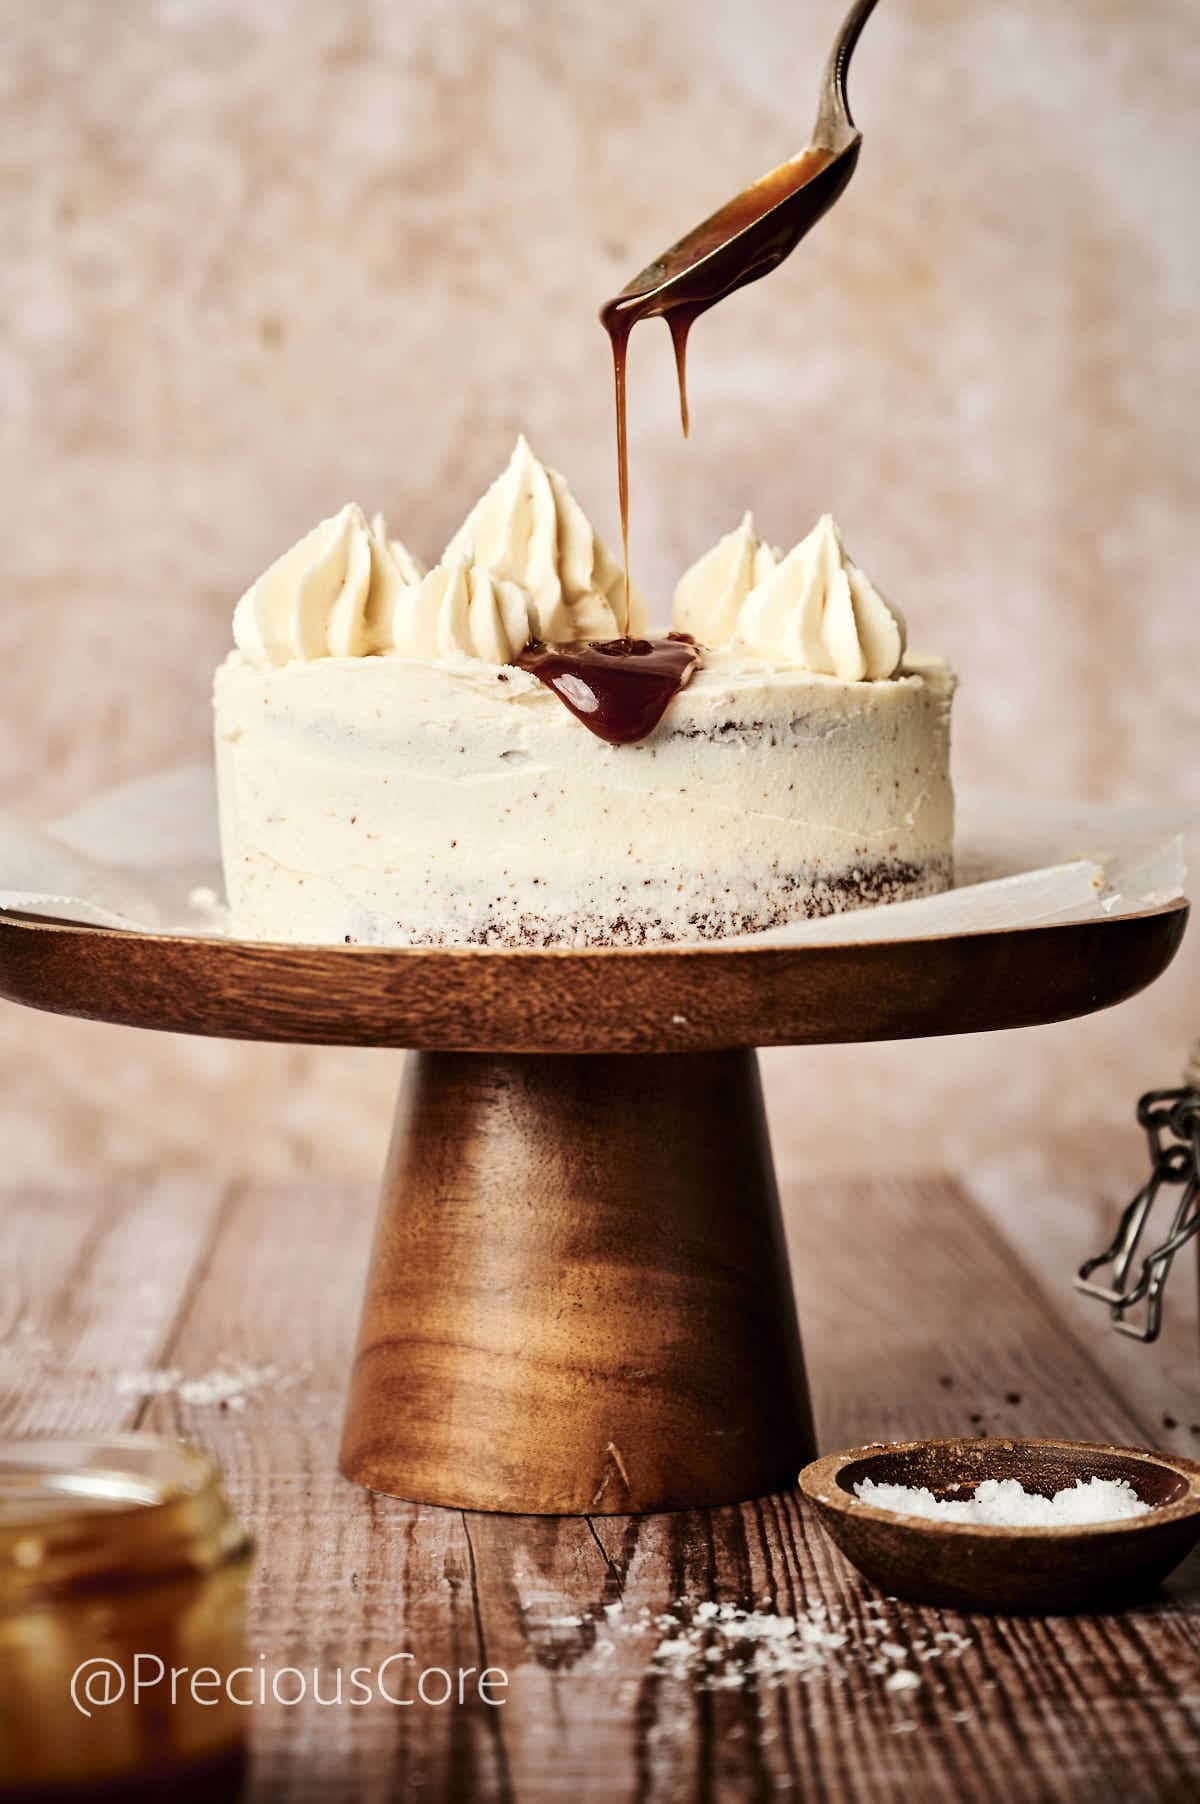
Decorate with a bit more caramel and sea salt flakes.
Love cakes? Also, check out my wonderful Old Fashioned Carrot Cake, Classic Chocolate Cake, and Pear Almond Cake.
Expert Tips for Salted Caramel Cake
- If your buttercream feels a bit too thick, just mix in a tablespoon of milk to achieve that perfect consistency. If the texture is a bit too soft, pop it in the fridge for 5-10 minutes to help it firm up before you spread it on.
- For a polished and professional appearance when stacking your cake layers, level off any slight domes with a serrated knife.
- For a touch of elegance, use a piping bag or a spoon to create neat caramel drizzles over the top. Swirling caramel into the buttercream adds flavor and a lovely texture.
- This cake is at its peak deliciousness when enjoyed on the day it’s baked or within 24 hours for the ultimate flavor experience. For those prepping ahead, be sure to keep it in an airtight container to lock in its freshness.
- Allow the cake layers to cool completely before adding the frosting. Applying buttercream to warm cakes can lead to melting, which may compromise the overall presentation.
Serving
You can serve this Salted Caramel Cake alongside the following:
How to Store Leftovers
Keep salted caramel cake in the fridge, in an airtight container so it stays fresh. When you’re ready to enjoy it, take it out of the refrigerator and allow it to reach room temperature. For the best taste, eat it within 2 to 3 days.
More Cake Recipes
If you’re passionate about baking delicious cakes, take a look at some of my top cake recipes below:
If you make this recipe please leave a star rating below. Your rating helps others find the recipe plus I love hearing from you! Thank you!
Salted Caramel Cake
Ingredients
- 200 g self-rising flour
- 1 tsp salt
- 200 g salted butter softened plus extra for the cake pans
- 75 g granulated sugar
- 75 g light brown sugar
- 50 g salted caramel sauce store-bought or homemade
- 4 eggs at room temperature
- ¾ tsp vanilla extract
- 1 tbsp whole milk
Buttercream:
- 200 g unsalted butter cut into cubes and softened
- 300 g icing sugar
- ¼ cup caramel sauce
- Sea salt flakes and more caramel for sprinkling and decorating
Instructions
- Preheat the oven to 350℉ (180°C). Grease two 8-inch cake pans and line the bases with parchment paper.
- Use a fine mesh to sieve the flour, and salt.200 g self-rising flour, 1 tsp salt
- In a large bowl, combine the butter, sugars, and caramel sauce. Beat the mixture using an electric whisk for 2-3 minutes until light and fluffy.200 g salted butter softened, 75 g granulated sugar, 75 g light brown sugar, 50 g salted caramel sauce
- Add the eggs one at a time. Scrape down the sides of the bowl as needed, then mix in the vanilla extract and milk.4 eggs at room temperature, ¾ tsp vanilla extract, 1 tbsp whole milk
- Fold in the flour mixture and combine using a spatula – make sure everything is thoroughly combined, but avoid overmixing.
- Evenly distribute the batter between the 2 prepared tins, and bake for 20 to 25 minutes, or until the cakes are golden, risen, and a skewer placed in the center comes out clear. Let the cakes cool in the pans for 10 minutes, then transfer to wire racks to allow them to cool entirely.
- For the buttercream, add the butter to a large mixing bowl and beat using a hand mixer until very soft. Slowly add the icing sugar, one-third at a time, whisking well after each addition until the mixture is light and fluffy. Mix in the caramel sauce and a pinch of sea salt, and beat until fully combined.200 g unsalted butter, 300 g icing sugar, ¼ cup caramel sauce
- To assemble the cake, place one of the sponges on a cake stand and spread one third of the buttercream on top. Use an offset spatula to level the top. Place the second sponge on top, then spread another third of the remaining buttercream over it. Spread the buttercream on the sides if desired then use a bench scraper to smooth it out. Pipe any buttercream left on the top of the cake as decoration.
- Decorate with a bit more caramel and sea salt flakes.Sea salt flakes and more caramel for sprinkling and decorating
Notes
- If you do not have self-rising flour, use the same amount of all-purpose flour and add 2 teaspoons of baking powder.
- Make sure your butter, eggs, and milk are all at room temperature for the best results. This creates a more velvety batter and enhances the cake’s overall texture.
- When incorporating the dry ingredients into the wet mixture, be careful not to overmix, as this can lead to a dense cake that loses its delightful light and fluffy texture.
- After everything has come together, grab a spatula and give it a final gentle fold to ensure all the ingredients are perfectly combined. This ensures that every last bit at the bottom of the mixing bowl is fully incorporated into the batter.
- Insert a toothpick or skewer into the center of the cakes to see if they are fully baked. Place it in the center, and if it emerges clean or with just a few crumbs, your cakes are perfectly done. Steer clear of overbaking to ensure your cakes remain moist.
- At some point, the buttercream might give off a curdled appearance. Continue to whip until the mixture reaches a perfectly smooth consistency.
- Sprinkle some high-quality sea salt flakes on top of the cake to take the flavor contrast between sweet and salty to the next level. Do not go overboard—a small pinch will elevate the sweetness of the caramel without overpowering it.



I love caramel cakes
Me too, Alitsyia!